External Features
In a way it is quite unfair that, especially for newbies to this whole process, the most scary bit of building your own campervan comes at the very, very, very start of it all: cutting holes in your beloved van to place windows, ventilation in-/outlets and things like a 240V hook-up point.
But, that’s the deal, really, if you want a van with windows and ventilation instead of a full-stealth van. So… you’ve got to do what you’ve got to do, and you just pray to the vanbuild gods that everything will be OK.
In this section we’ll talk you through the parts that we installed, how we did it, and which mistakes we made so that you don’t have to!
Ventilation
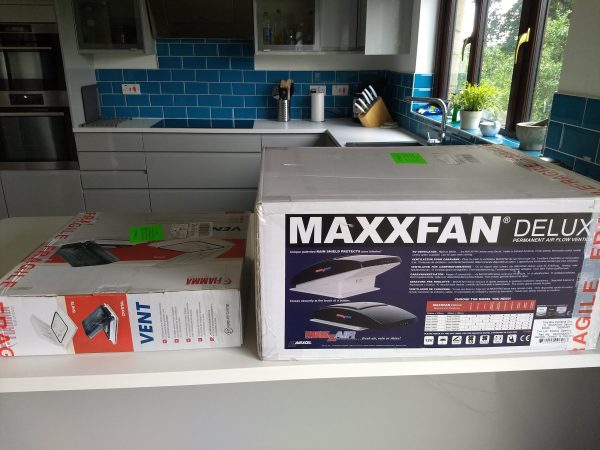
For ventilation we chose to go with one active and one passive vent.
The active ventilator is the MaxxFan Deluxe. One of the most popular active ventilation units out there. We bought it for £297.
The passive ventilator is a Fiamma 400 Rooflight Crystal that we found for £59.99.
We bought both units from Grasshopper Leisure (see link) which are UK-based.
One of the reasons the MaxxFan is so popular is that it works come rain come shine, and you could even drive with it opened, although we do make sure it’s closed when we set off.
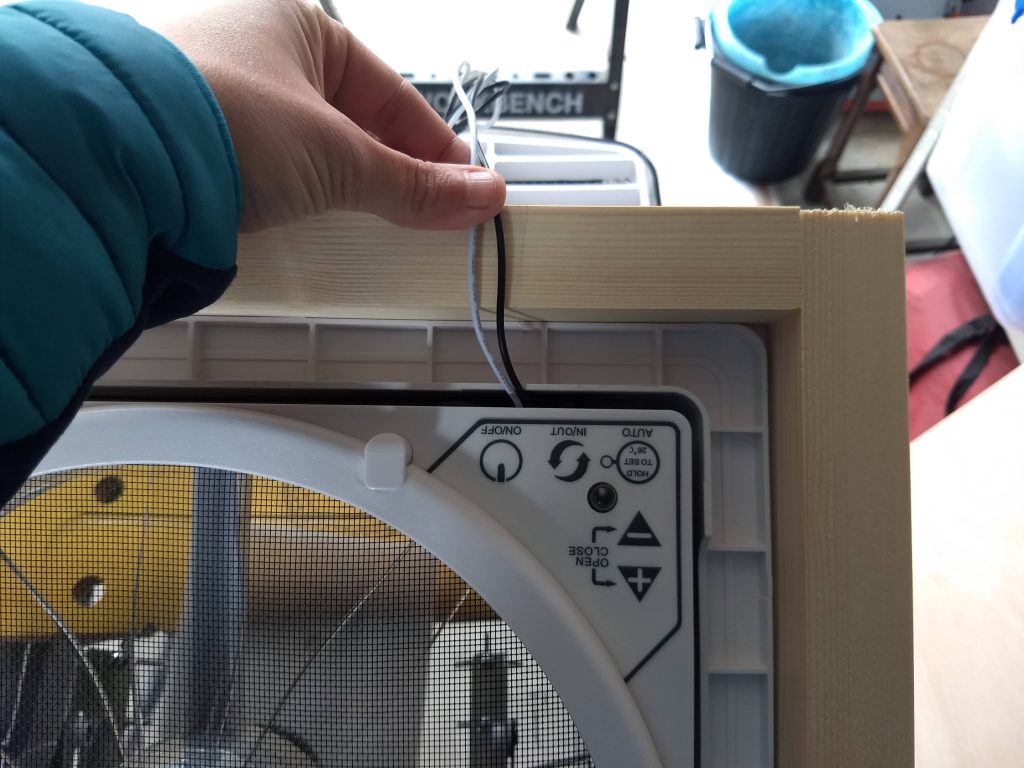
Other reasons are that it can blow both air in and out, it has a very wide range of settings, and it is VERY quiet. It actually only has a really slight buzz that is rather calming and drowns out any noise from outside you might hear. On normal nights we have it on 20%, and when it is warmer (25 degrees Celsius +) we’ll have it around 30 or 40%.
You’re framed!
The holes to fit the ventilation units were also the first ones. We figured that it would be best to fuck it all up in a place that you couldn’t see that clearly and that we could potentially still fix in a way that wouldn’t draw everyone’s attention and prove to the world we’re just a bunch of amateurs. Ok, sure, we are, but not everyone has to know that.
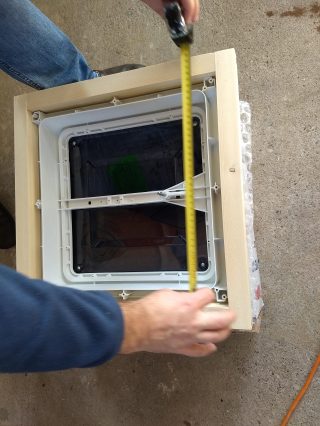
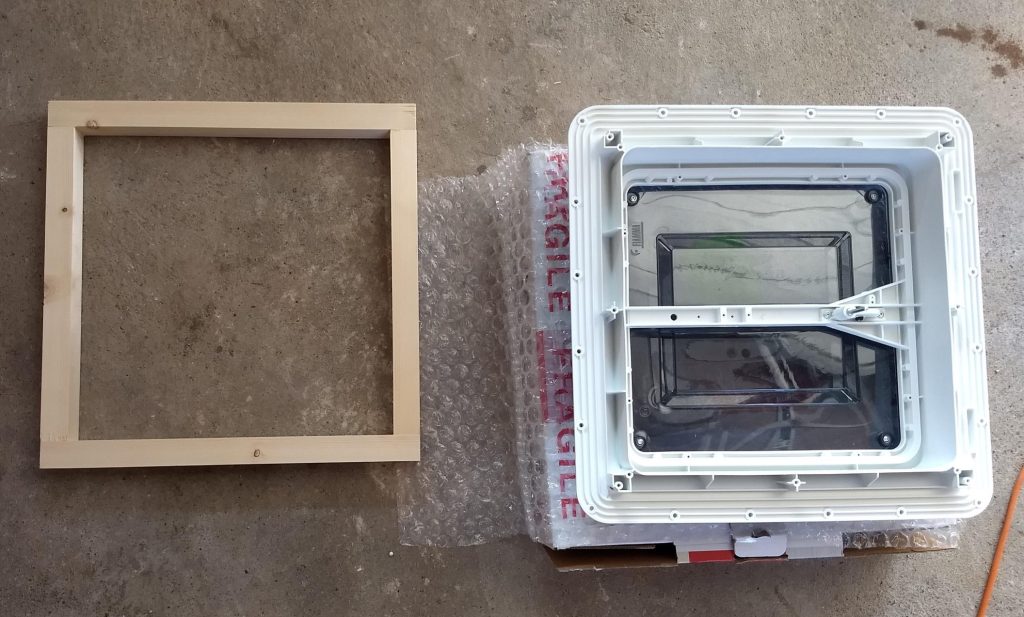
Still, before we got to work on the holes, we needed to make sure that we would be able to secure the units once we put them in place and make them both water tight and, well, one with the van, which is done by creating a frame that sits on the inside of the van.
We created two wooden frames and tested and fit and remeasured and refit again before we would even begin to consider drilling a hole.
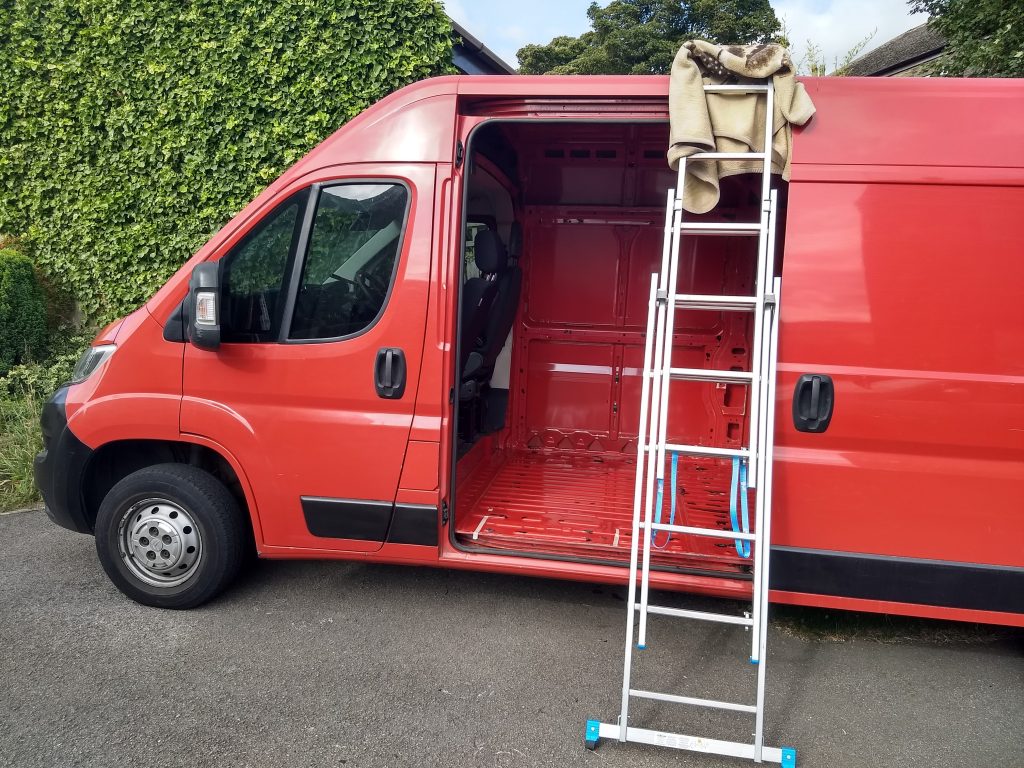
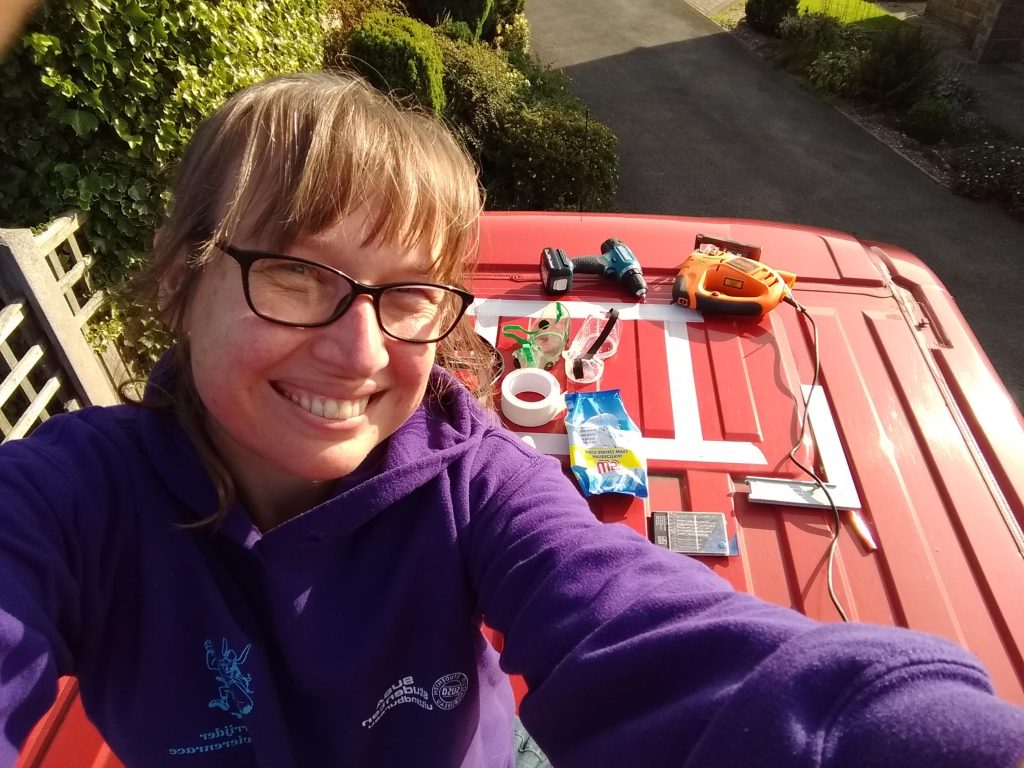
Then came the moment we could no longer postpone: make some holes. Wound our van. And this is where our mantra came to good use, and one that we have repeated throughout the entire journey:
Measure twice (thrice, etc.), cut once.
This didn’t mean we wouldn’t make a mistake within the (w)hole process ever again, but at least we are sure it helped us from making some mistakes that couldn’t be fixed that easily.
There’s only one ‘big’ mistake we made with the windows s(t)ill, but we’ll get to that later.
Getting the Maxx Air Fan in
The first big hole was that for the Maxx Air Fan. And while scary, in the end, it went rather smoothly.

A hole new world…
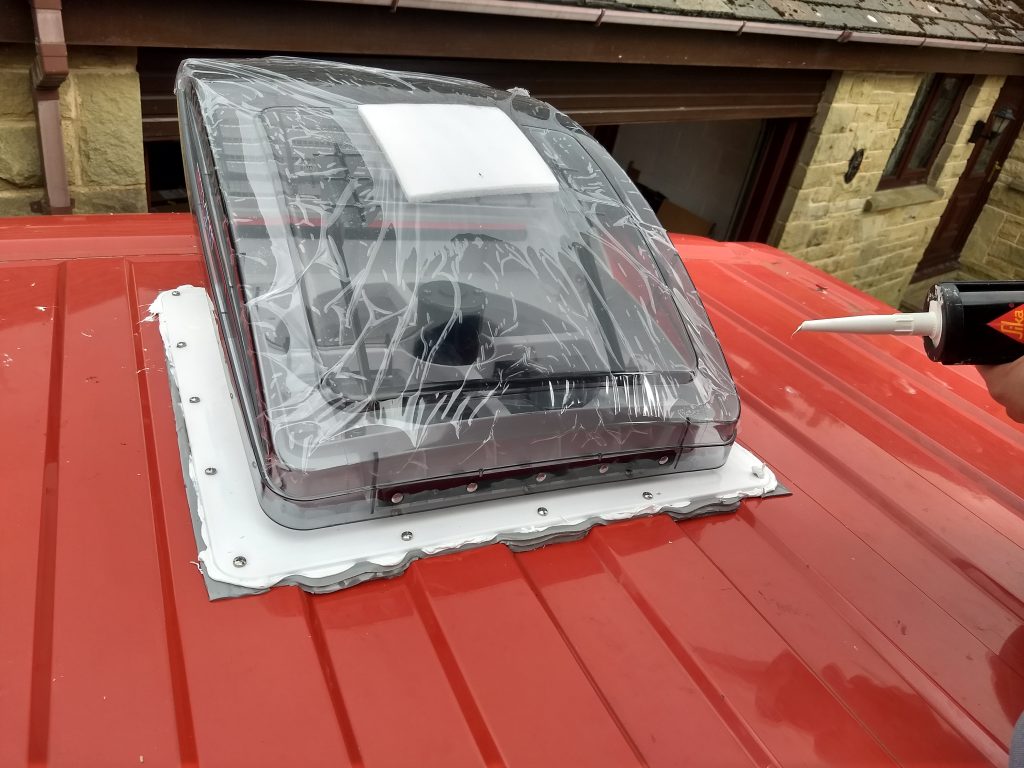
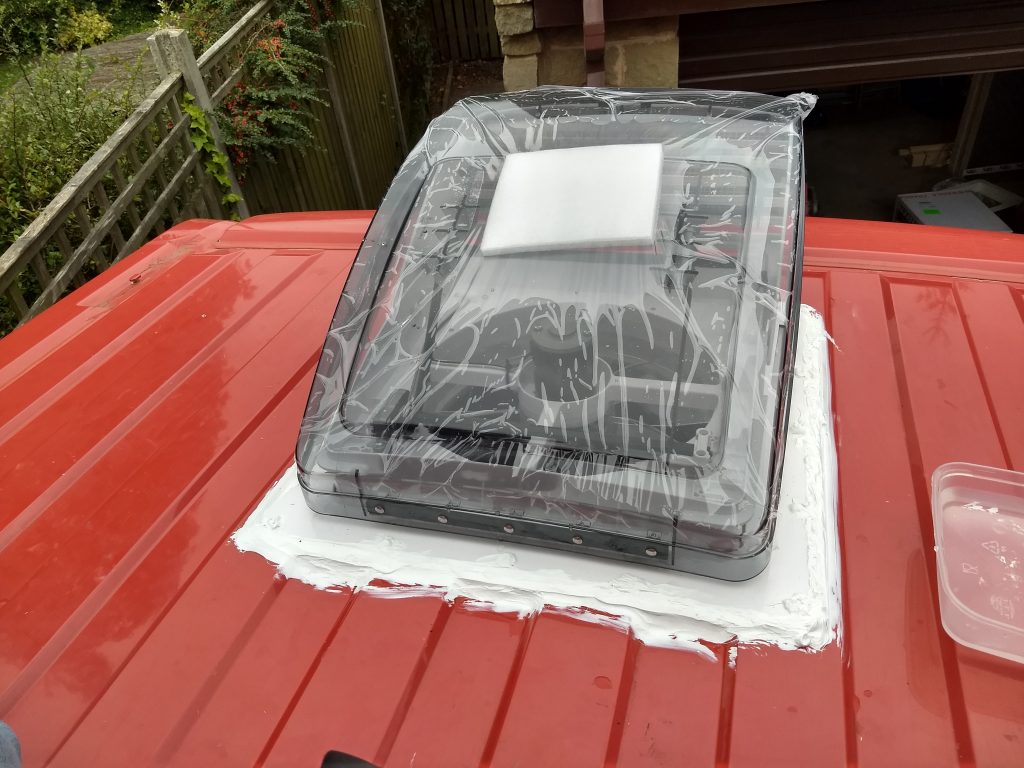
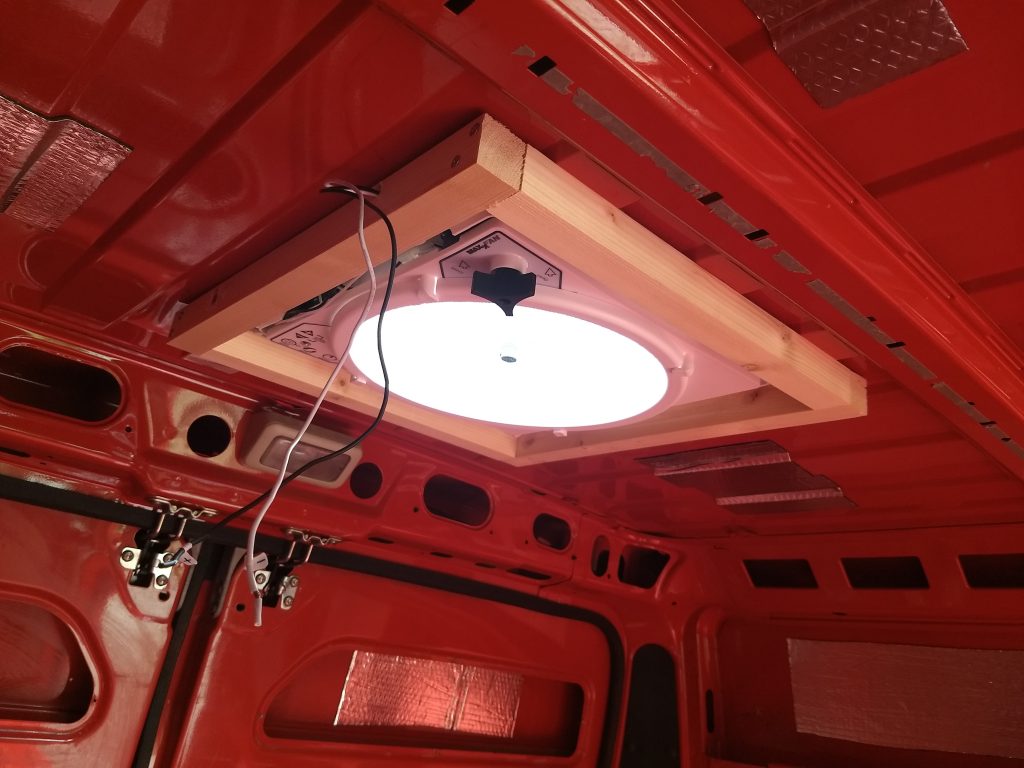
Just don’t ever look on the roof, as the kit job is absolutely atrocious.
You’re Framed, part two
The first big hole was that for the Maxx Air Fan. And while scary, in the end, it went rather smoothly.
After this first one, the rest of the external features were quite the breeze. It was still scary to make that first hole and get the power tools out making enormous holes into the body of the van, but it was all for a good cause… we kept telling ourselves. And repeating ‘measure twice, cut once’ every single step.
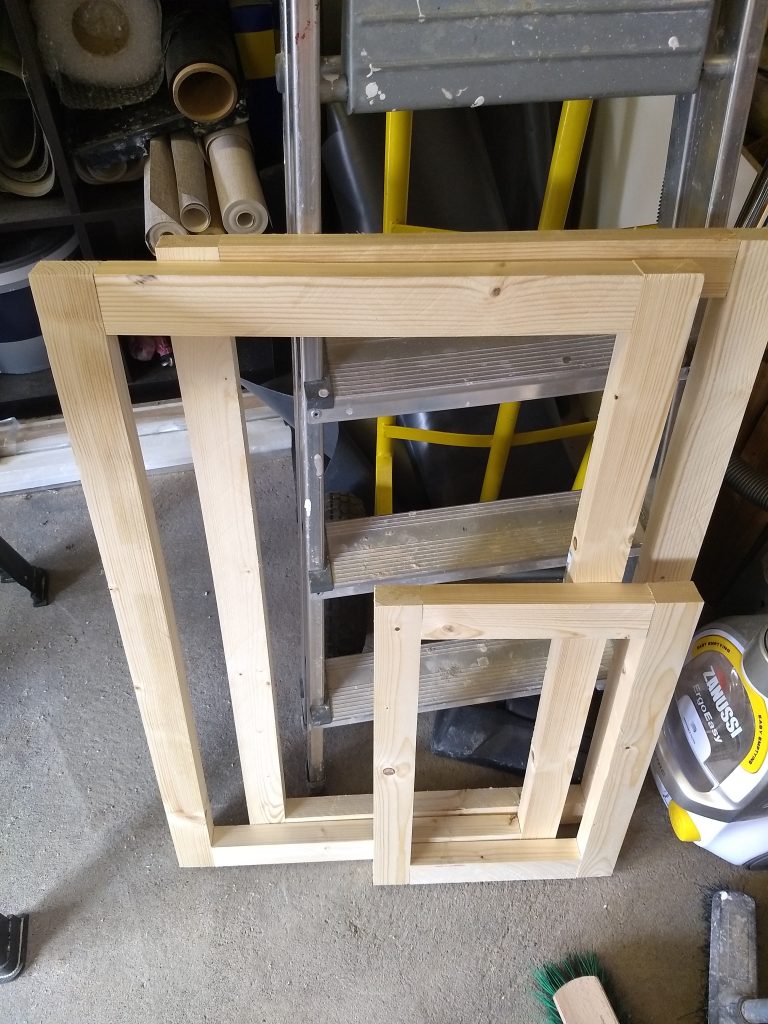
Like we did with the frame for the Maxx Air Fan, we made all the frames for the windows. We had two big ones and a smaller one to go in.
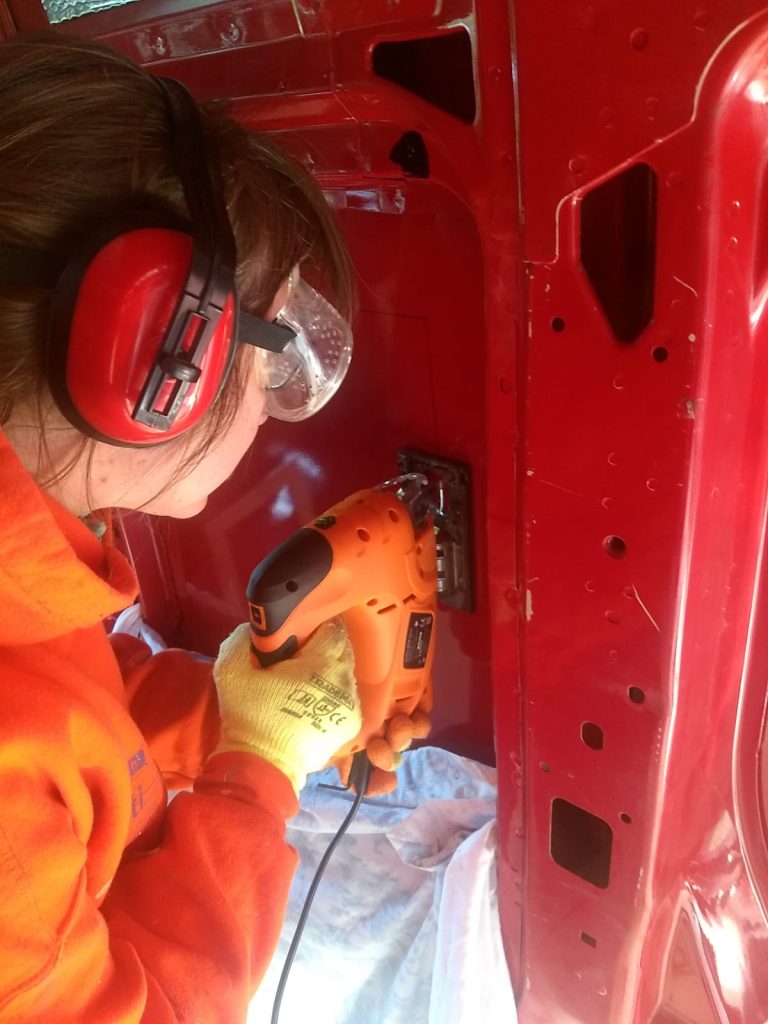
We love a bit of orange as you can see. And proper protection.
Here, Gaby is cutting through the panel to make space for the small window that sits above the kitchen units.
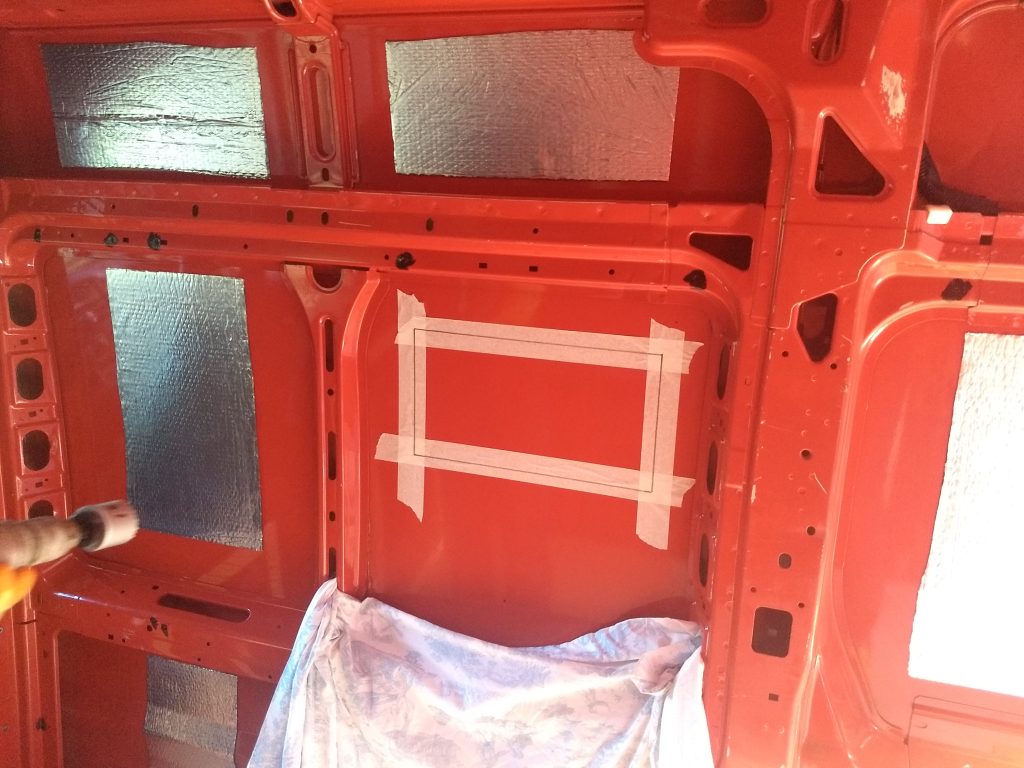

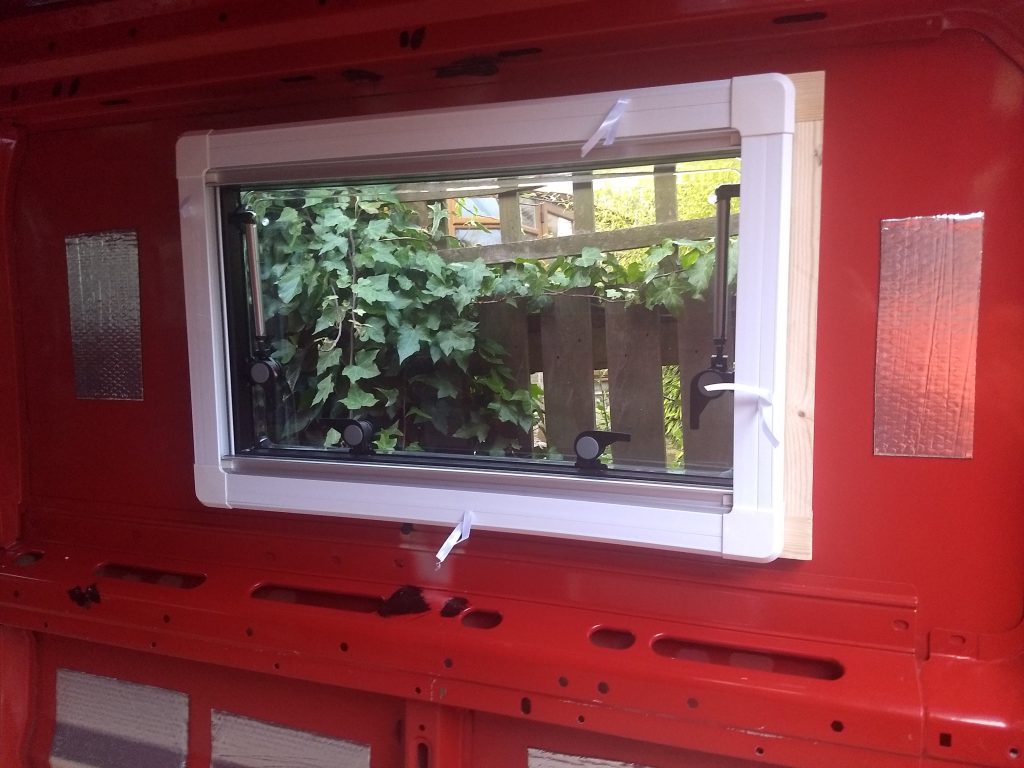
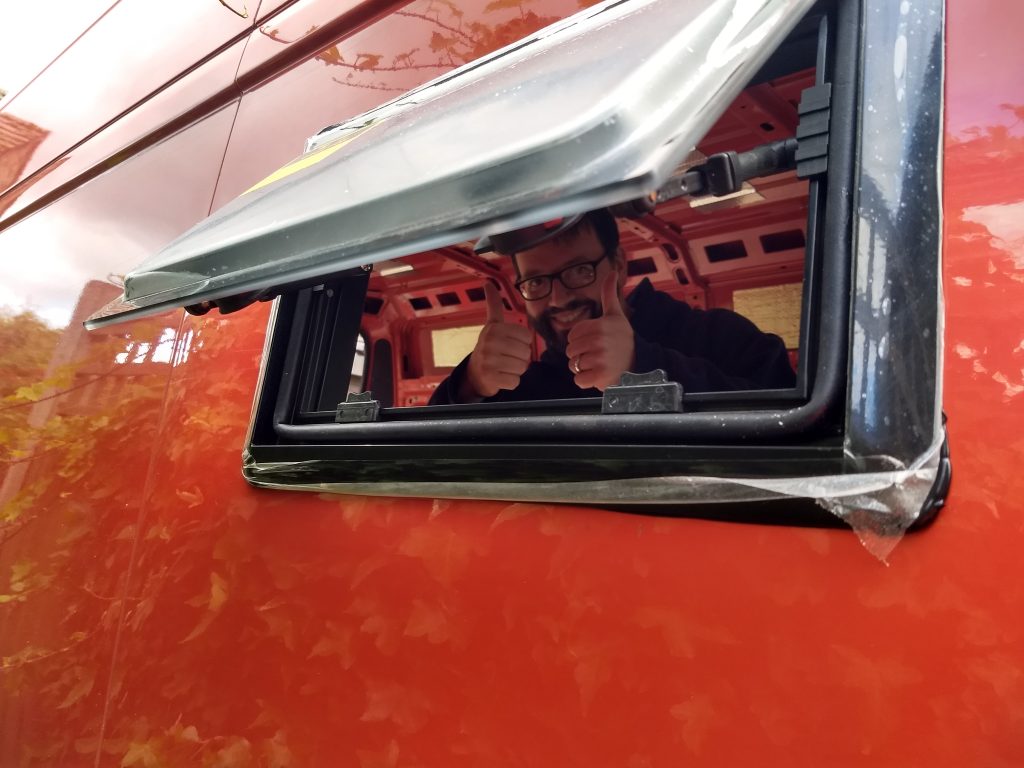
In the end, we got all the windows and fans in in about a weekend.
Having that scary bit out of the way, we could move inside for quite a while to get some work done. But later, we had to return to the roof and drilling some holes to get the solar panel on…